Start your first show
Sheet G-101 · from the in-app Guide · updated 2026-07-03
The short version
- Open the start screen, click Load demo — every tab fills with a worked touring rig.
- Click across the tabs to see how the pieces connect, then Export PDF to see the finished book.
- Ready for your own: New show, fill in Project, and move left to right through the phases.
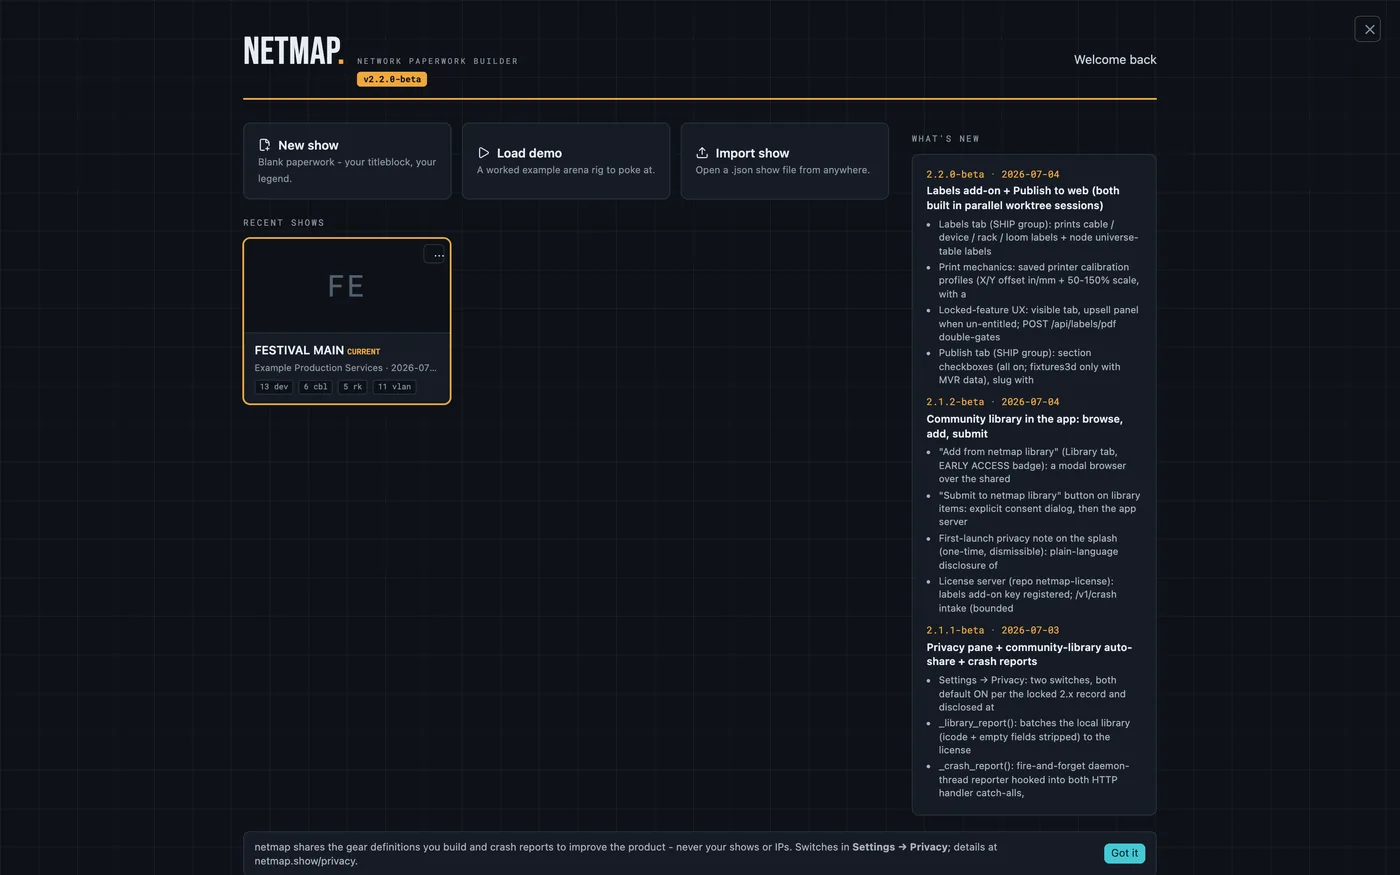
01Load the demo first
netmap opens on the start screen: recent shows, a What's New panel, and the three doors — New show, Load demo, Import show. Take the demo. It's a complete fictional festival rig, and it is the fastest way to see what the app actually holds: every tab filled, every sheet ready to print.
One idea drives everything: you enter each fact once. Name a device once and every cable, switch port and rack drawing that references it updates automatically. The tabs are your inputs; the exports are the outputs.
02Read the sidebar as a workflow
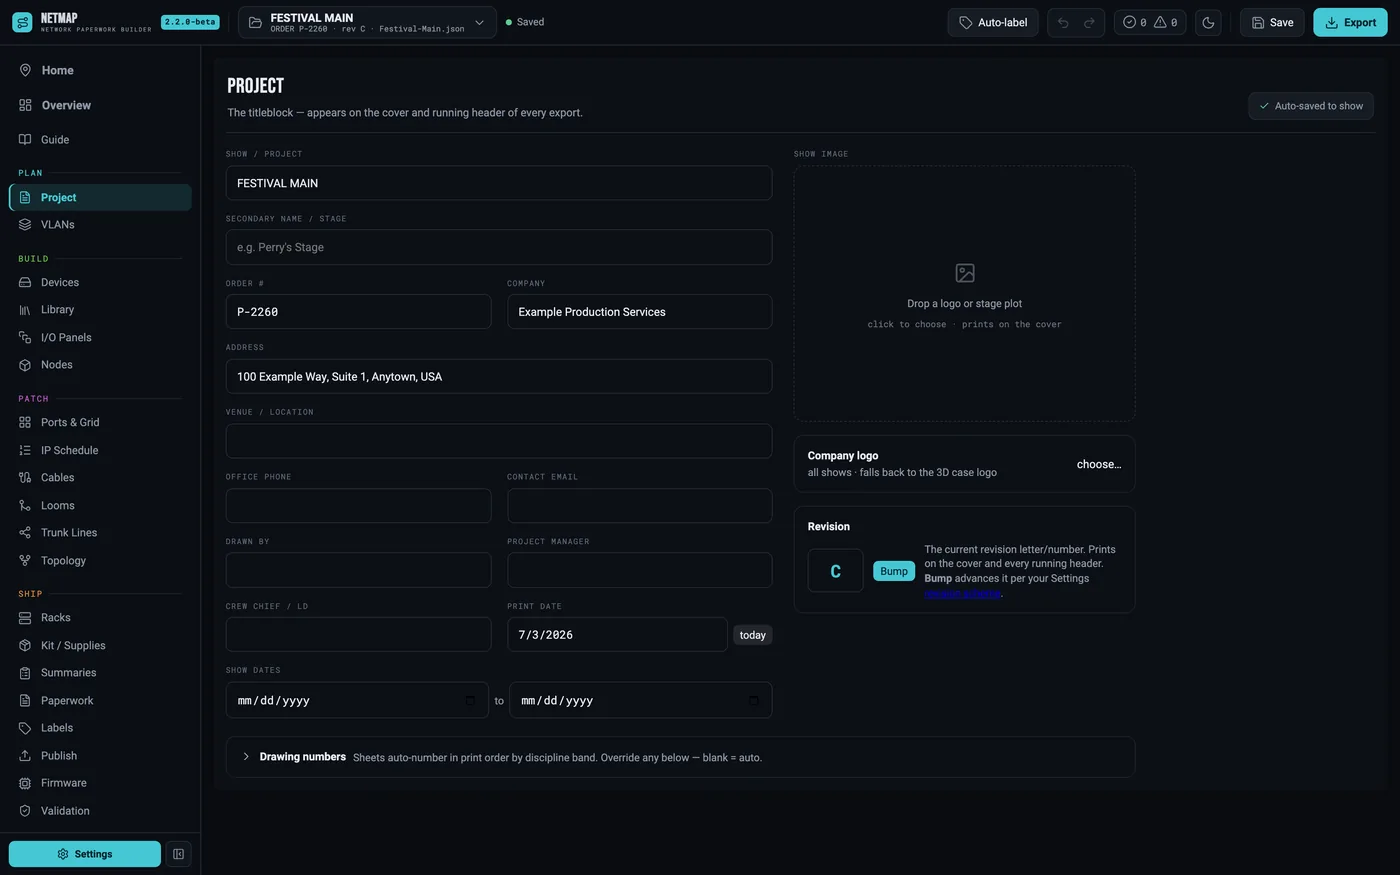
The phase rail runs PLAN → BUILD → PATCH → SHIP. Move left to right on a new show — but jump anywhere, anytime. Nothing locks.
- Plan — Project & VLANs. The title block and the color legend that travels everywhere.
- Build — Devices, Library, I/O Panels, Nodes. The gear itself.
- Patch — Ports & Grid, IP Schedule, Cables, Trunk Lines, Looms. The wiring.
- Ship — Racks, Validation, Paperwork, Labels, Publish. The book.
03Export the book once, early
With the demo loaded, hit Export PDF. What comes out is the point of the whole app: a print-ready drawing set — cover, cable schedule, rack elevations, Master IP Schedule, port maps, VLAN legend, weight & power. Knowing what the output looks like makes every input tab make sense.
04Now start yours
New show, then fill in the Project tab first — show name, client, order number, dates, designer. Every field prints in the header and footer of every sheet, so the title block is genuinely step one.
From there: set up the VLAN legend, add devices (type them, paste a block from a spreadsheet, or pull from your Library), and let validation flag whatever you missed. The error chip rides the top bar everywhere — click it any time to see what the book still needs.